
General Device Instructions
Starting a Therapy Session: Make sure to fully charge your device prior to the first time you use it. Open a new package of OrthoPods 5-10 minutes before you start a therapy session to warm up. When you are ready to start your session insert the OrthoPods into the magnetic ports on your device. A blue light will appear on the outside of the device indicating your therapy has started. Note: if the light flickers, check that the OrthoPod magnets are flat and secure on the device.
For specific positioning instructions, please see the individual device instructions or videos below.
Ending a Therapy Session: After 2 hours, the blue light will flash for 2 minutes before turning off indicating your therapy has finished. Remove the device from your body and remove the OrthoPods from the magnetic ports. Dispose of the used OrthoPods in the trash. To charge the device, plug the power cord into the OrthoSource. A red light will appear indicating the device is charging. The red light will disappear once the device is fully charged, usually around 90 minutes.
OrthoCor Active Systems

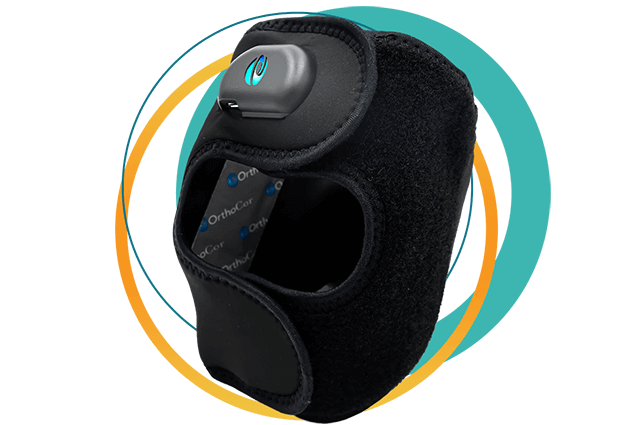
Neck Active System Positioning Instructions
- Position the neck device with the OrthoPods against the back of your neck.
- Pull forward the two front straps and bring the two ends together until the magnetic closure automatically snaps closed.
- Make sure the OrthoPods are in contact with the treatment area after closure.
- To remove the device, pull on the release tab on the top strap until the magnetic closure releases and then remove the device.

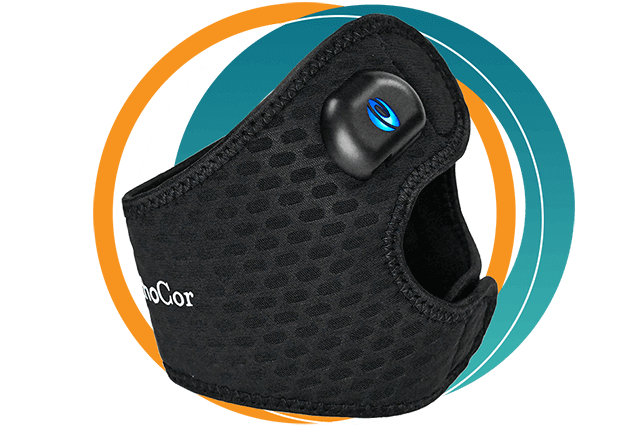
Shoulder Active System Positioning Instructions
- Determine which shoulder needs to be treated.
- The strap first should be secured to the magnetic closure on the back of the shoulder. This should be the closure farthest away.
- Place the device on your shoulder and grab the strap from behind you and pull the strap across your chest to the magnetic closure on the front of the device.
- Adjust the strap using the thing until its comfortable and holds the device in place on your shoulder.
- To remove the device, pull on the release tab on the front side of the device and pull up away from the shoulder until the magnetic closure releases and then remove the device.
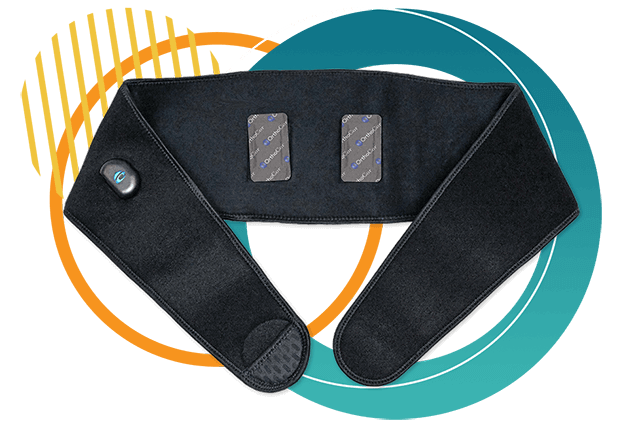
Back Active System Positioning Instructions
- Position the back device around your waist, use the tabs at the end of the straps to help you position the device.
- The OrthoPods should be positioned directly over the area you intend to treat.
- Fasten the device comfortably around the front of the body.
- Adjust to fit, but do not overtighten.
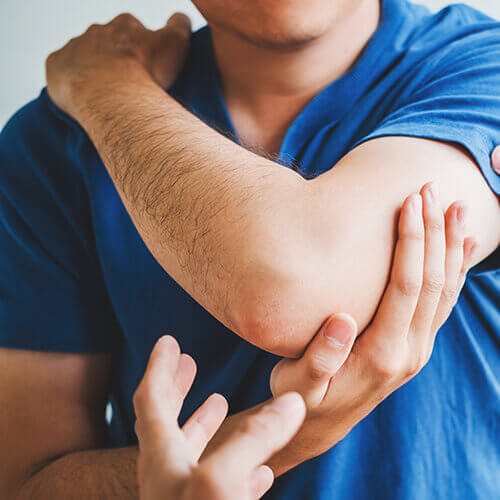
Elbow Active System Positioning Instructions
- Position the elbow device by placing the elbow joint in the hole in the center of the device.
- The OrthoSource should be positioned just above your elbow.
- The OrthoPods should be positioned on each side of the elbow joint.
- Adjust the device to fit comfortably, but do not overtighten.
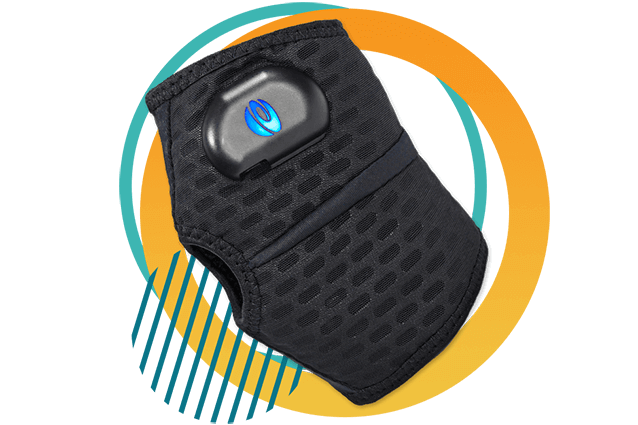
Hand/Wrist Active System Positioning Instructions
- Place your thumb through the thumb slot, ensuring the OrthoSource is sitting on top of the hand or wrist.
- Wrap the end of the wrist/hand device around your hand or wrist and fasten.
- Slide the device up or down the hand or wrist to ensure it is covering the desired treatment site.

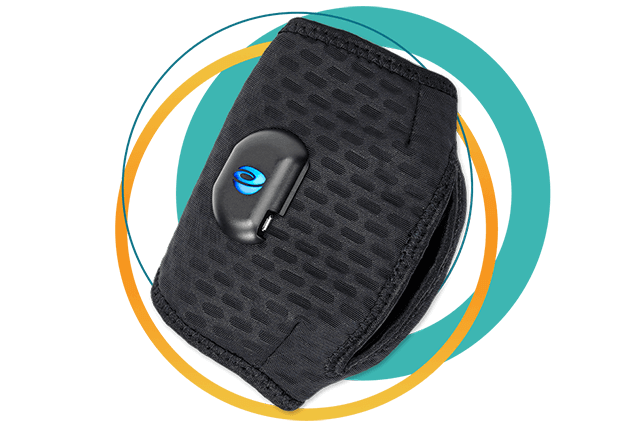
Universal Active System Positioning Instructions
- Place the end of the large or small strap onto one of the fasteners near the OrthoSource until the magnetic fastener engages.
- Place the device over your treatment area.
- Wrap the strap around the treatment area and adjust the strap length for comfort.
- Secure the end of the strap to the magnetic fastener which is on the opposite side of the device. All four fasteners on the device may be used interchangeably to secure the device.
- To remove the device, pull on the release tab on the top strap until the magnetic closure releases, and then remove the device.
Knee Active System Positioning Instructions
- Position the knee system with the logo centered on the back of the knee.
- The OrthoSource should be positioned just above the knee.
- OrthoPods should be positioned on each side of the knee joint.
- Fasten the tabs comfortably above and below the knee.
- Adjust to fit but do not overtighten.
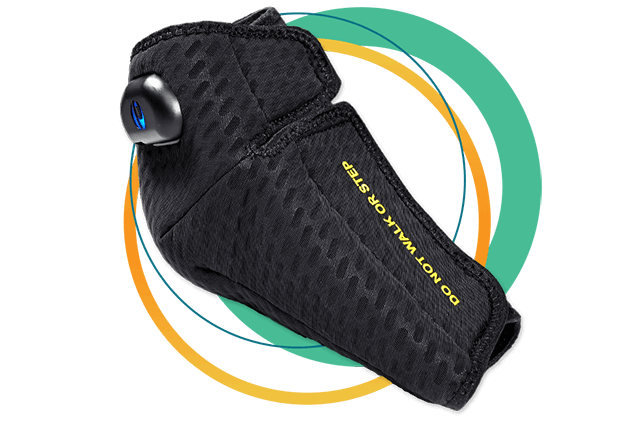
Ankle Active System Positioning Instructions
- Place the heel of your foot into the hole located in the center of the ankle device ensuring the OrthoSource is above your ankle.
- Wrap the device around the front of the ankle.
- The OrthoPods should be on each side of the ankle.
- Adjust the device to fit comfortable, but do not overtighten.
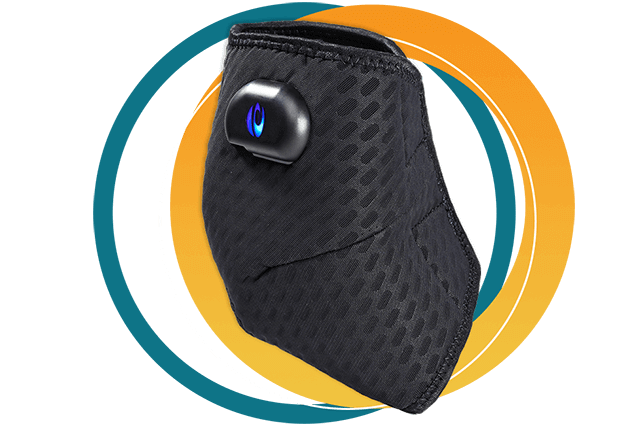
Foot Active System Positioning Instructions
- Place the heel of your foot into the hole located in the center of the foot device ensuring the OrthoSource is above your ankle.
- Wrap the device around the foot.
- Fasten the device on the front of the foot.
- Adjust to fit, but don’t overtighten.
- The OrthoPods should be positioned directly below the foot.
- While wearing the device do not put weight or walk on the OrthoPods.
OrthoCor Advanced Systems
Knee Advanced System Positioning Instructions
- Position the knee system with the logo centered on the back of the knee.
- The OrthoSource should be positioned just above the knee.
- OrthoPods should be positioned on each side of the knee joint.
- Fasten the tabs comfortably above and below the knee.
- Adjust to fit but do not overtighten.
How to Pair Your Advanced System and Your Phone
To pair your smart device and OrthoCor Advanced device, download the OrthoCor Medical application on your smart device from either the Apple App Store or the Google Play Store. Once you have signed up for the OrthoCor app and reach the dashboard tab for the first time, your OrthoCor Advanced System will automatically pair with your smart device. Ensure your OrthoCor Advanced System is nearby your smart device, and then look for the a confirmation message on your screen to ensure the device has been paired successfully paired.
OrthoPod Instructions
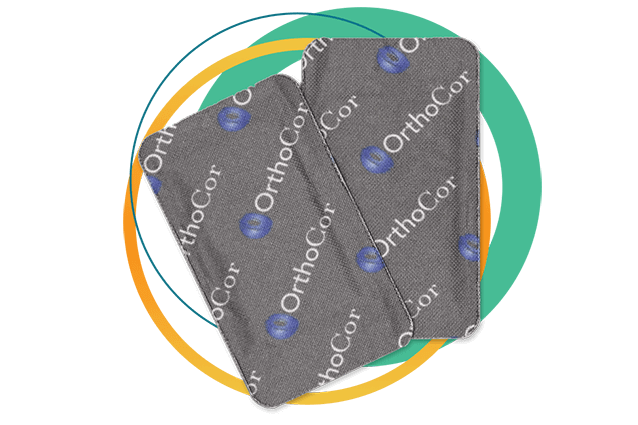
OrthoPods
- To prepare the OrthoPods for your treatment session, take OrthoPods out of their package 5-10 minutes before you want to start your therapy session.
- Let the OrthoPods sit outside of the package to allow the heat to air activate When you are ready to start your therapy session, insert the metal contacts of the OrthoPods into the ports on the inside of your device.
- Follow the positioning instructions for each device and make sure the OrthoPods are positioned over the area of treatment.
- After your therapy session is finished and you have removed the device from your body, firmly pull on the OrthoPods to remove them from the device.
- Dispose of the used OrthoPods in the trash.